As we all know, Android Studio 3 and above(at the time of writing) is now the official integrated development environment (IDE) for Google’s mobile Android operating system, built on JetBrains’ IntelliJ IDEA software and designed specifically for Android development, as we all know. It is a replacement for the Eclipse Android Development Tools (ADT) as primary IDE for native Android application development.
We need to fully uninstall the software, but as we know there is no single command available for this as the installer given by Google is a zip file and there is no .deb package. We need to manually install it and if not required again manually delete/remove or uninstall it. The steps for installing on Ubuntu and Fedora as well it’s derivatives is given here. I am writing this tutorial on lubuntu 17.10, lxde desktop, but the procedure/method is the same for all it’s derivatives.
The default locations are …./android-studio/bin/idea.properties for older versions basically.
Delete the android-studio folder or anything which mentions Android.
- Delete
~/.android; - Delete
~/.AndroidStudio, which containsconfigandsystem; - Delete
~/.local/share/applications/jetbrains.....xxxxxx, if you created a shortcut using Configure->Create Desktop Entry. - Delete the sdk folder if it is in not inside the android-studio directory;
Sometimes the icon launcher can be as seen below:-
/usr/share/applications
/usr/local/share/applications
If your launcher file is in any of the first two directories, you will require root permissions in order to delete it.
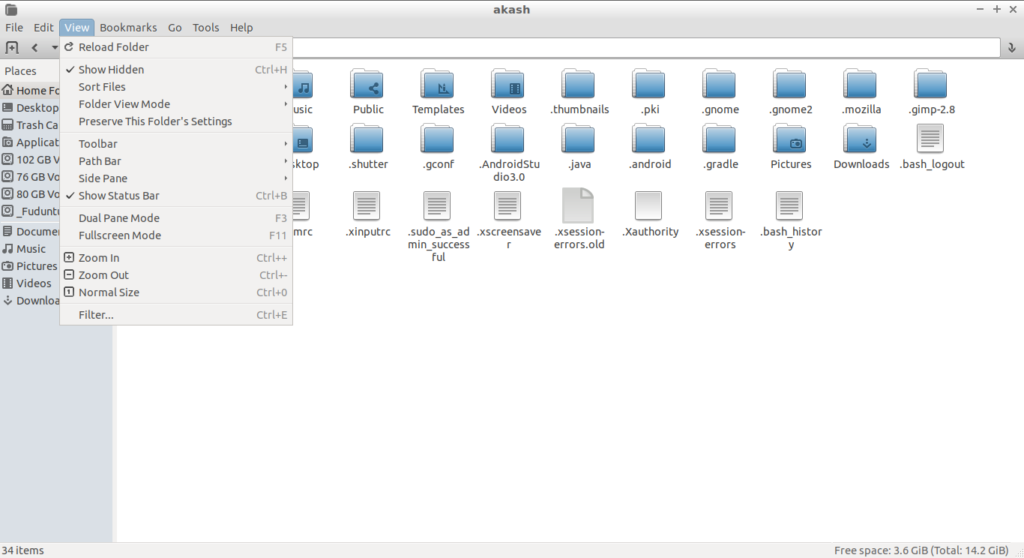
Note:- We need to activate the hidden folders in order to see it inside the file manager GUI. Hit Ctrl + H
[via:- askubuntu forums]


